Almost everyone starts a stone conversation with colour, and almost everyone should start somewhere else.
Start with format, not colour
Format is the size and shape of the pieces, and it does more to define how a wall reads than colour does. Same grey stone, three formats, three completely different buildings:
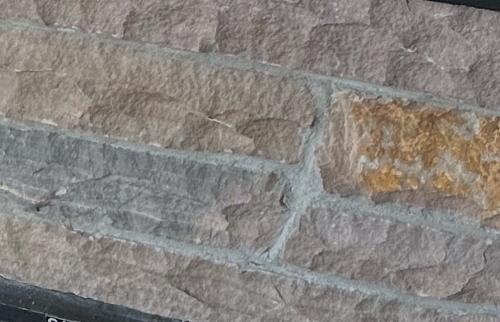
- Tight-stacked ledger — thin, linear courses laid with almost no visible joint. Reads as texture rather than masonry. Contemporary, busy up close, calm from the street.
- Cut stone / ashlar — rectangular units with a defined joint. Reads as deliberate, built, traditional. Calmer up close, more architectural from a distance.
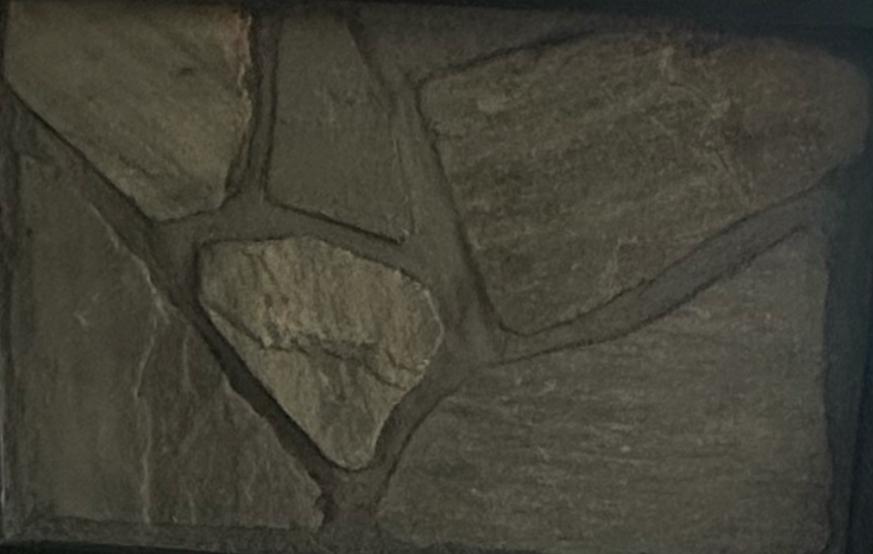
- Random or field — irregular pieces, varied sizes. Rustic, and the hardest to lay well because the composition is being made on the wall by the mason.
Decide which of those three the house wants before you look at a single colour chip. It narrows the field enormously and it is the decision you cannot change later without re-cladding.
The joint changes everything
The mortar joint — its width, its depth, its colour — is roughly half of what you see on a finished wall, and it is routinely treated as an afterthought.
A joint in a colour close to the stone lets the wall read as a single mass. A contrasting joint makes every individual piece pop and turns the wall into a pattern. Recessed joints throw shadow and add depth; flush joints flatten everything out.
Two houses using the identical stone with different joint treatments will not look like they used the same product. Ask to see the joint spec, not just the stone.
See it wet
This is the single most useful piece of advice we give, and the most ignored.
Facades in the Lower Mainland are wet for a large part of the year. Porous stone darkens substantially when it takes up water — a warm buff limestone that glows under showroom lighting can sit as a flat grey-brown from November through March.
That is not a defect. It is just what the stone does, and you need to know about it before it is on your house. Any supplier worth using will hose a sample down for you. Look at it wet, look at it in daylight rather than under a showroom fixture, and look at it against your actual siding and window colour.
Take samples home, not photos
Phone photos apply automatic white balance, which is exactly the thing you are trying to judge. Take physical samples, prop them against the house, and look at them in the morning and again in the evening.
Matching what is already there
New stone rarely goes onto a blank house. It has to work with siding, soffit, window frames, roof and often existing masonry.
Window frames matter most — they sit in the same plane as the stone and are directly adjacent, so a clash is visible all the time. Black frames, near-universal on contemporary Lower Mainland builds, are forgiving and work with almost any stone. Bronze and dark brown frames are pickier and want warmer stone tones.
If you are adding stone to part of a house and matching existing masonry elsewhere — common on renovations in Vancouver, Burnaby and New Westminster — bring a physical piece if you possibly can. Weathered stone has usually shifted in tone from new stock, and matching to a photograph of a weathered wall is close to guesswork.
How much you actually need
Field stone is sold by the square foot for flat areas. Corners are sold separately, by the linear foot, and they cost more. Forgetting the corners is the most common under-order we see.
Measure flat area in square feet, measure every outside corner in linear feet, subtract openings over a certain size, and add roughly 10% for waste — more if the wall has many corners, openings or angled cuts.
Bring the dimensions and we will work the quantities with you. It takes a few minutes and it is a lot cheaper than a second freight charge for a shortfall.
Narrowing it down
A workable sequence:
- Pick the format — stacked, cut, or random.
- Decide the tonal family — cool grey, warm buff, or dark charcoal — by looking at your window frames.
- Get three samples in that family, wet them, and look at them against the house.
- Settle the joint colour and profile.
- Measure properly and order with corners and waste factored in.
Most people can get through steps one and two on the phone. Steps three onward want you standing in front of the material. Bring photos of the whole elevation in daylight and rough dimensions, and we can usually get you to a shortlist in one visit.