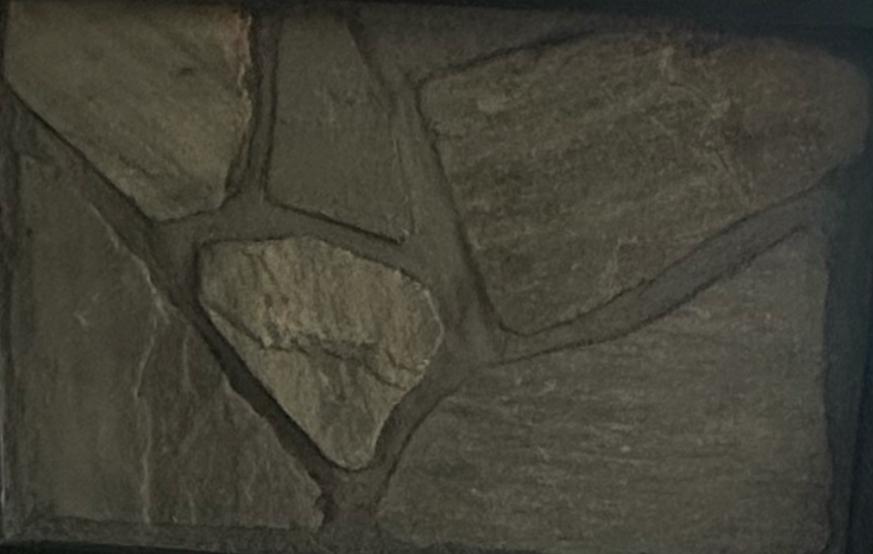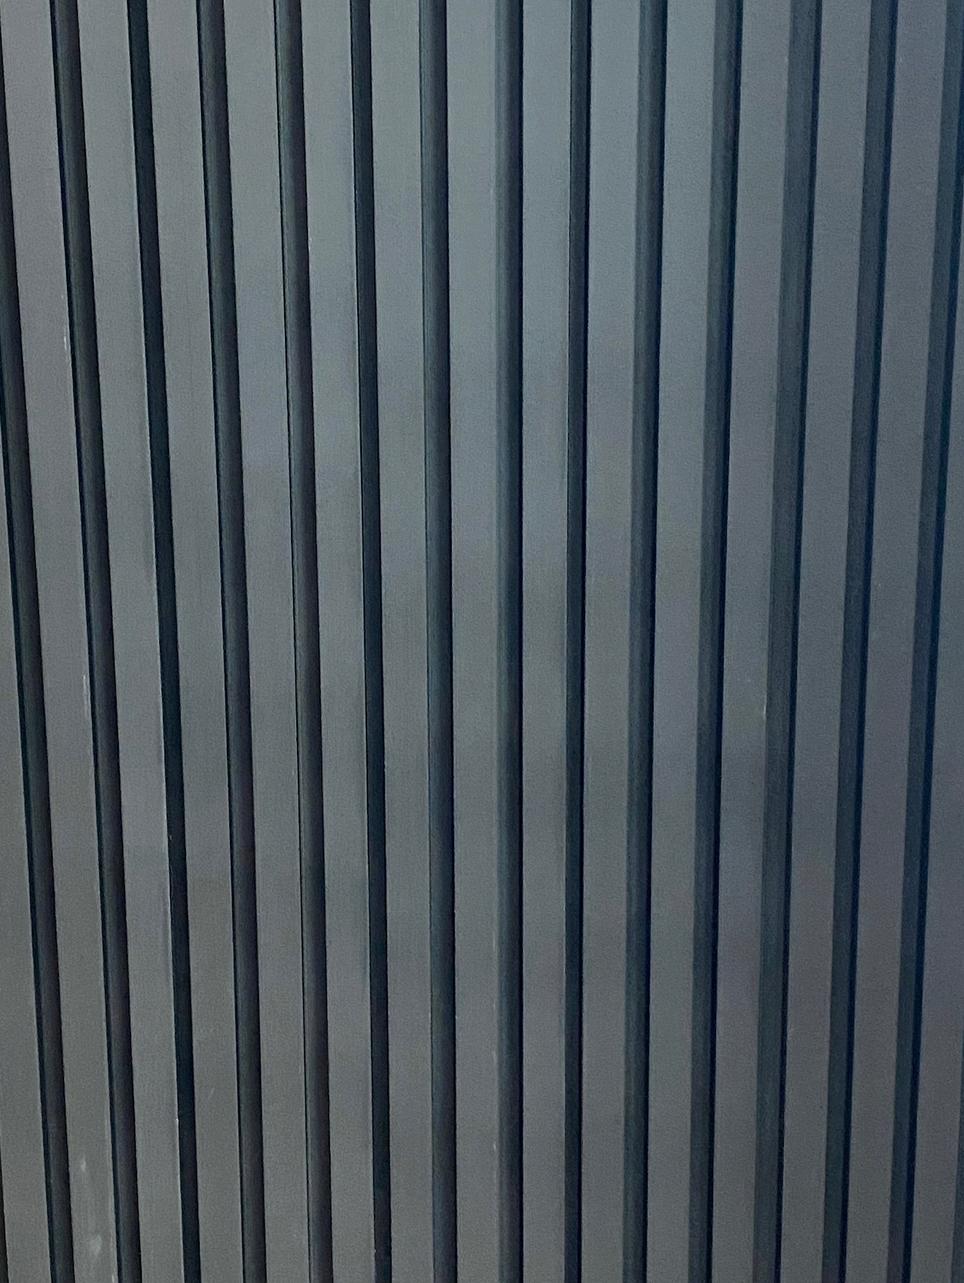
There is one detail that separates exterior stonework that lasts from exterior stonework that becomes an insurance claim, and it is not the stone.
It is the gap behind it.
What the code actually requires
Building permits issued after 15 December 2006 by most British Columbia municipalities west of Hope — and on Vancouver Island — require a capillary break between the cladding and the building paper or wrap. In practice that means a 10 mm cavity, roughly three-eighths of an inch.
The code also requires that cavity to remain substantially open in cross section. That second part is the one people miss. A gap that has been subdivided into sealed vertical channels by continuous solid strapping is not doing the job the code intends.
Why the Lower Mainland has this rule
Because we learned the hard way. The leaky-condo crisis of the 1990s was, at its core, a drainage problem. Face-sealed wall assemblies were built on the assumption that water could be kept out entirely. In a climate that delivers sustained wind-driven rain for months, that assumption does not survive contact with reality.
Water gets behind cladding. All cladding. The question a wall assembly has to answer is not how do we keep it out but how does it get back out again.
A rainscreen does not stop water getting behind the stone. It gives the water somewhere to go, and air to dry what is left.
What a compliant assembly looks like
Working outward from the structure, a typical drained assembly runs:
- Sheathing over the framing.
- A water-resistive barrier — building paper or wrap — lapped correctly, shingle-style, so water runs over each layer rather than behind it.
- Furring or a drainage mat creating the 10 mm cavity, arranged so the cavity drains and vents.
- Flashing at the base, at penetrations, and at any horizontal interruption, directing water out of the cavity rather than back into the wall.
- The cladding itself — stone veneer on lath and scratch coat, or panel cladding fixed to the furring.
The flashing is where most of the skill lives. A perfect cavity that dead-ends into an unflashed deck ledger has simply routed water to a new place to cause damage.
The detail worth checking yourself
Look at the bottom of the wall. There should be a way for water to exit the cavity — a weep detail, a vented starter, a visible gap. If the stone runs down and dies into the foundation with no exit, water arriving in the cavity has nowhere to go but into the wall.
Where it goes wrong
In our experience the recurring failures are:
- The cavity gets blocked. Mortar droppings during stone installation fill the bottom of the cavity and dam it. Good masons keep the cavity clear as they go.
- No exit at the base. Covered above, and the most common single fault.
- Penetrations unflashed. Hose bibs, light fixtures, vents and dryer ducts all puncture the barrier. Each one needs its own detail.
- Windows tied in backwards. Sill pans and head flashing that lap the wrong way turn a window into a funnel.
- Stone taken to grade. Cladding in contact with soil wicks moisture continuously. There should be clearance.
Retrofits and existing walls
Adding stone to an existing house — common on 1970s and 1980s homes across Burnaby, Coquitlam, Delta and North Vancouver — is where this gets genuinely complicated. The existing wall was likely not built as a drained assembly, and you are about to add a heavy, water-retaining layer to the outside of it.
That is a conversation for your designer or building envelope consultant before it is a conversation about which stone you like. We would rather tell you that up front than sell you material for a wall that is not ready for it.
Questions to ask your installer
You do not need to be an envelope specialist to sanity-check a quote. Four questions get you most of the way:
- What is creating the 10 mm cavity, and how does it drain at the bottom?
- How are you keeping mortar out of the cavity during installation?
- What is the flashing detail at penetrations and at any horizontal break?
- What clearance is the stone holding above grade and above the roof line?
An installer who answers those four confidently is one you can probably trust with the rest. One who waves them off is telling you something useful.